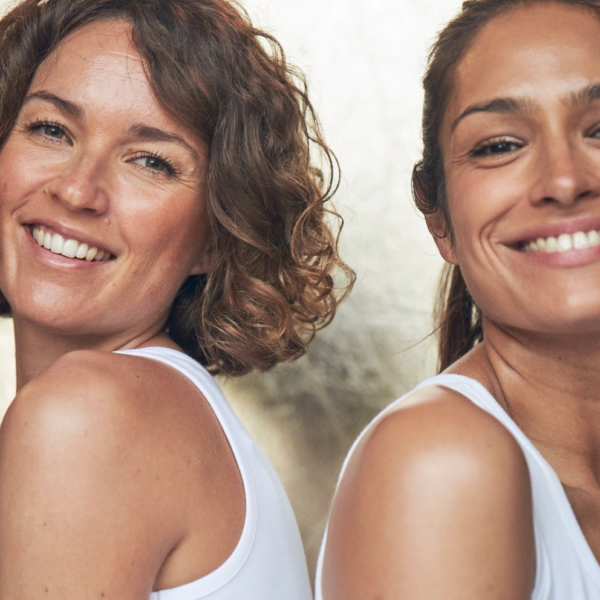
I’m constantly searching for what I like to call: ‘minimal effort make up tips’. Some people love makeup and the ritual of re-applying it throughout the day – but that is not something I subscribe to.
For me, applying make up once in the morning is more than enough; unless I’m heading out that evening to somewhere other than the school run or a kids party! I firmly believe, it is all about the eyebrows- they frame your eyes and define the face. I have found a great make up trick that is fast; easy to do; lasts all day; and really finishes off my day time look – making me look natural and well groomed.
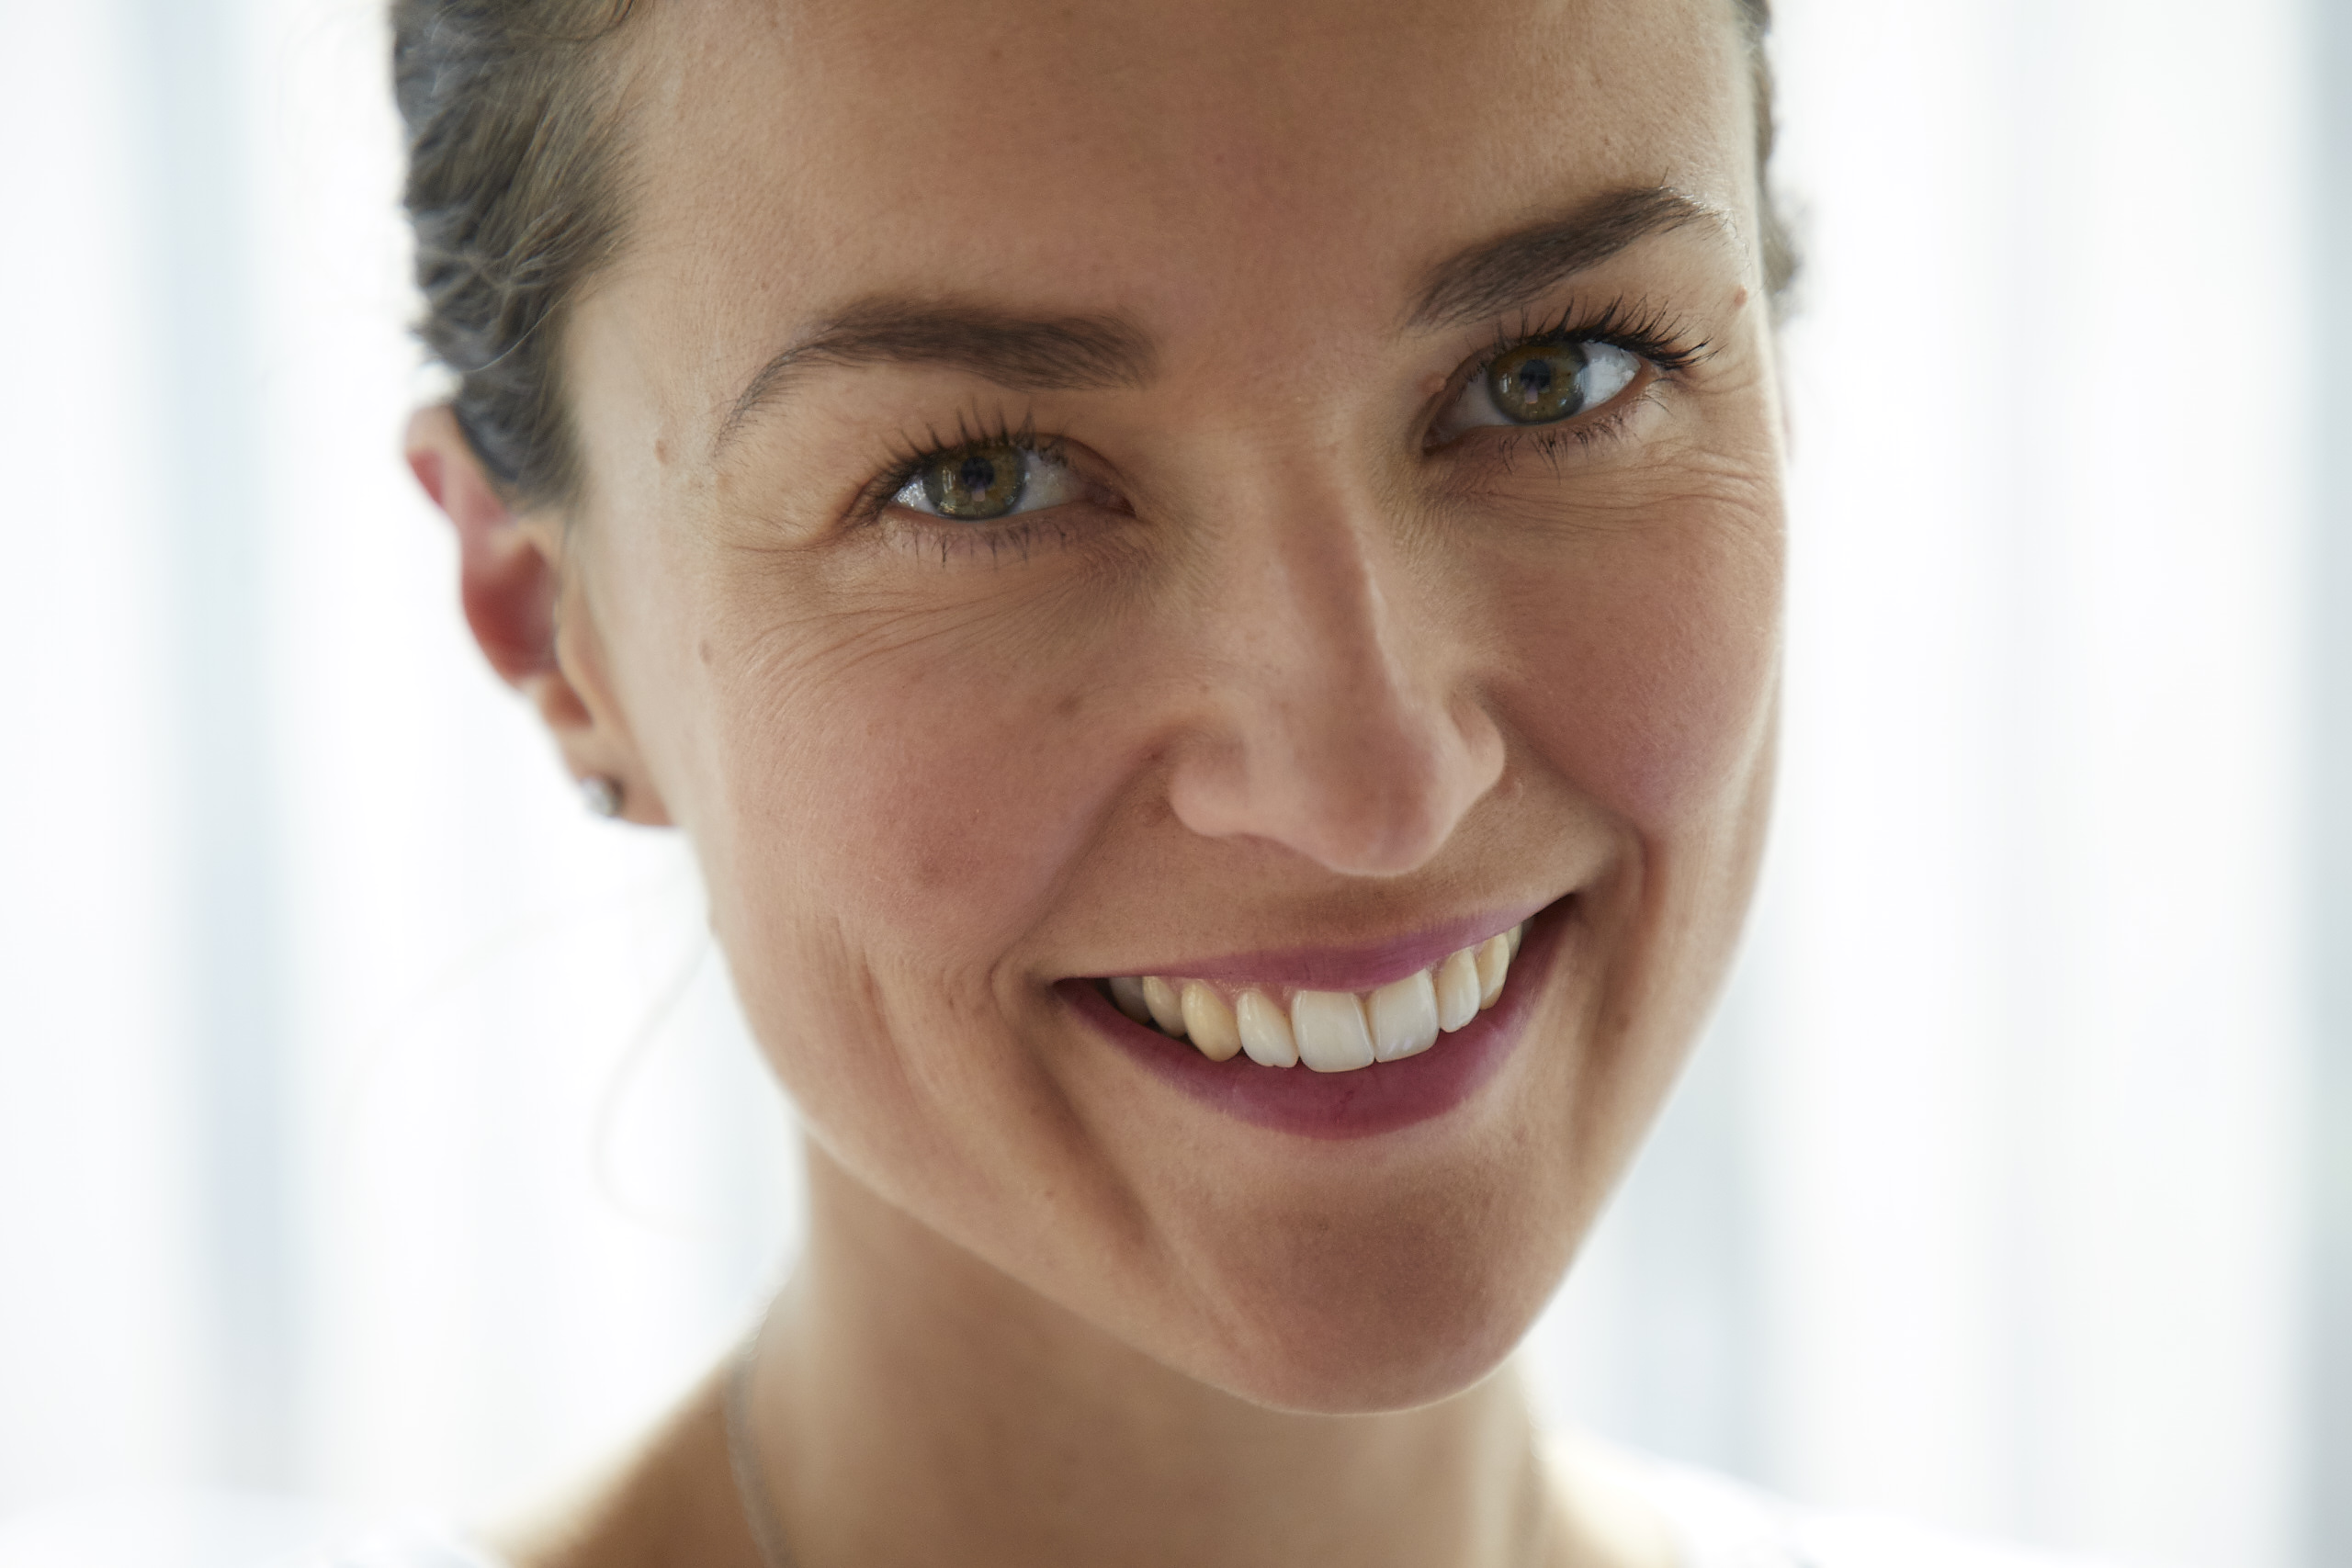
It’s all about the eyebrows!

Irrespective of the shape and size of your brows, filling in your brows is one of the best tricks towards achieving a more perfect brow, and, for me, it is all about adding to and defining what you already have! Defined brows help to frame your entire face and help bring out your eyes without the need for additional make up. Thats a good thing, right?!
Everyone’s eyebrows have areas where the hair is sparse and need filling in, or areas where fullness can be added. By defining your brows, you can transform your face, and can leave the house feeling like you have enhanced what you already have, in a natural way. Filling in your brows does not mean drawing their outline around the edges, it is much more subtle than that. Here are a few easy steps on how to do this…
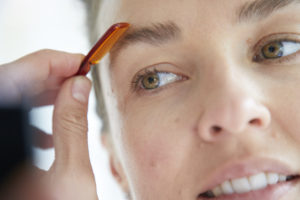
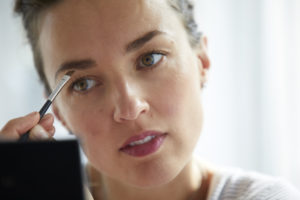
Step 1. Comb brow upwards with small eyebrow comb or brush. As you can see, my eyebrows, like most people’s, are slightly patchy can do with some defining and filling in.
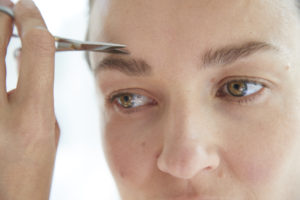
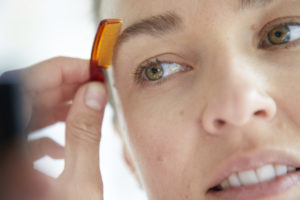
Step 2. Take a small pair of scissors (I like to use Tweezerman) and snip ends of hair helping to create shape (less is more remember) you can always go back and re cut.
STEP 3. Comb the brow back into place, allowing you to see new outline you have just shaped.
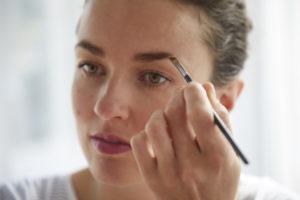
STEP 4. I like to use an angled brow brush on my eyebrows as it helps define the line and creates a sharper finish (I love this one by MAC). I use a Brow Kit by Bobbi Brown, and even though it does come with a brush, I personally prefer the brush by MAC. Always choose a colour as close to your brow colour as possible and if anything, go slightly lighter, never darker unless you want two slugs across your face! The great thing about the Brow Kit is there are two shades, so you have more colour options. Using short, dash- like strokes, softly begin to draw on your brows from the centre outwards, always following the direction of hair growth. I only add the colour to the insides of my brows, never to the outer edges, so that they dont look perfectly drawn on.
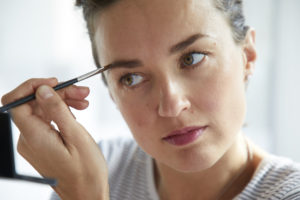
STEP 5. Fill In the rest of the brow, blending with the brush as you go. Make sure to fill in both brows evenly as you can, again taking care not to draw the outlines of the eyebrows. It is all about the natural look.
Step 6. You are ready to go… it really is that simple!

My favourite Brow Kits are here and here.
My go to brow brush is here.
My favourite brow comb is here.
Tweezerman scissors are here.